Breville Espresso Machine Leaking: Where to Look

A Breville leaking underneath is usually one of four things: a full drip tray, a perished group head gasket, the water tank not seated, or a hose joint inside. The gasket is the most common genuine fault and the giveaway is that the portafilter handle now locks further round than it used to.
Causes, most likely first
Work down this list in order. The first two cost nothing to check.
- Drip tray simply full - the float should be showing but is easy to miss
- Group head gasket hardened, so the portafilter no longer seals under pressure
- Water tank not fully seated or its seal perished
- Grounds on the basket rim stopping the portafilter seating cleanly
- Internal hose joint - the least common and the only one needing a strip-down
The fix, step by step
-
Empty the drip tray
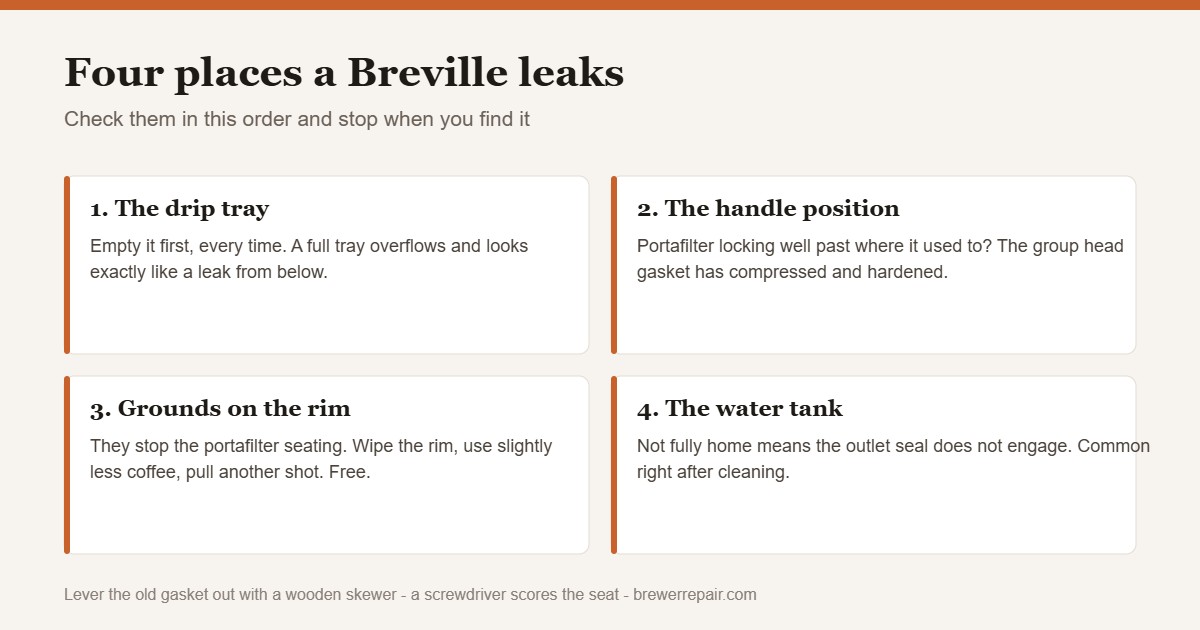
Do this first every time. A full tray overflows onto the counter and looks exactly like a leak from below.
-
Look at the handle position
Where does the portafilter lock now compared to when it was new? If it travels well past centre, the gasket has compressed and hardened.
-
Wipe the basket rim
Grounds on the rim stop the portafilter seating. Wipe it, reduce the dose slightly and pull another shot.
-
Watch during extraction
Espresso weeping from the top edge of the portafilter rather than the spouts is the gasket, confirmed.
-
Reseat the water tank
Lift it out and push it firmly home. A tank that is not fully engaged leaks at the outlet.
-
Replace the gasket
Lever the old one out with a wooden skewer, never a screwdriver - a scored seat leaks with a new gasket in it.
-
Still leaking?
If the tray is empty, the gasket is new and the tank is seated, the leak is an internal joint and that is a service job.
Four places, and they are easy to tell apart if you check them in the right order. One of them is not a fault at all.
Empty the drip tray first
Every time. A full tray overflows onto the counter and presents as water appearing under the machine. Breville trays have a float that rises to warn you, and it is genuinely easy to miss behind the machine’s front panel. This costs ten seconds and rules out the most common answer.
The handle tells you about the gasket
This is the diagnostic worth knowing. When the machine was new, the portafilter locked with the handle somewhere near centre. As the group head gasket compresses and hardens with heat cycling, the portafilter travels further each time. If your handle now sits well past where it used to, the gasket is done.
Confirm it by watching a shot: espresso weeping out around the top edge of the portafilter instead of coming from the spouts means the seal is no longer holding pressure.
Rule out the free causes
Before ordering a gasket, wipe the rim of the basket and the group seat, and use slightly less coffee. Grounds on the rim stop the portafilter seating cleanly, and an overfilled basket presses the puck up into the shower screen. Both produce rim leaks that look exactly like gasket failure and cost nothing to fix.
The tank
A water tank that is not fully home does not engage its outlet seal properly. Lift it out and push it back deliberately until it stops. This is a common cause after cleaning, when the tank gets put back in a hurry.
Changing the gasket
The old one will be stuck hard. Use a wooden skewer or a plastic pick to work it free – never a screwdriver. Scoring the metal seat is easy, permanent, and means the machine will leak with a brand new gasket fitted. Clean the seat properly before pressing the new one in evenly.
Steam-only leaks are different
If the machine is dry during espresso and leaks while steaming, the fault is in the steam circuit rather than the group. That is a different repair, and worth identifying before buying anything.
Parts
Group head gasket sizing and the swap covers which machines are 54mm and which are 58mm. If pressure rather than leaking is the issue, start with the puck.
If you need the part
Check the fitment chart against your model number before ordering — sizes that look identical often are not.

The part you need
Breville Group Head Gasket: 54mm Size, Symptoms and Swap
Paid link. We earn a commission if you buy — the guides stay free.
Questions people ask about this fix
Why is my Breville espresso machine leaking from the bottom?
Check the drip tray first - a full tray overflows and it is the single most common answer. After that, the group head gasket is the most likely genuine fault, followed by the water tank not being seated properly.
How do I know if the group head gasket has failed?
Look at where the portafilter handle sits when locked. A new gasket puts it around centre; as the gasket compresses and hardens the handle creeps further round. Combined with espresso weeping from the rim during a shot, that is conclusive.
Espresso is leaking around the portafilter. Is that the gasket?
Usually, but rule out two cheaper causes first. Grounds on the basket rim stop the portafilter seating, and an overfilled basket presses the puck into the shower screen. Wipe the rim, use slightly less coffee, and try again.
Can I replace a Breville group head gasket myself?
Yes, it is a straightforward job. The important part is what you lever it out with - use a wooden skewer or plastic pick. A screwdriver scores the metal seat, and a scored seat will leak with a brand new gasket fitted.
My machine leaks only when I am steaming. What is that?
That points at the steam circuit rather than the group, usually the wand assembly or its seal rather than the group head gasket. It is a different repair and worth identifying before ordering parts.
Other Breville problems
Breville Grinder Not Working: Jam, Residue or Motor
A Breville grinder that hums, stalls or produces nothing is nearly always jammed or gummed rather than broken. How to tell which, in order.
Breville Not Building Pressure: Puck First, Machine Second
A Breville that gushes and never reaches pressure is usually a grind and dose problem, not a pump fault. How to separate the two definitively.