Cleaning a Keurig K-Mini: No Reservoir, No Filter

A K-Mini has no removable reservoir and no water filter, so descaling matters more and nothing reminds you to do it. Needles monthly, descale every three months.
What you need before you start

The part you need
Keurig Descaling Solution: Which One, How Much, and What It Will Not Fix
Paid link. We earn a commission if you buy — the guides stay free.
Step by step
-
Weekly wash
Drip tray and pod holder in warm soapy water, wipe around the head.
-
Monthly needles
Clear the exit needle from under the pod holder and the entrance needle in the head.
-
Fill with solution
Descaler at bottle strength, or 1:1 white vinegar and water.
-
Run cycles with no pod
Repeat refills until two tanks have passed through.
-
Stand 30 minutes
Machine off. This is the step that dissolves the scale.
-
Rinse three tanks
Four if you used vinegar.
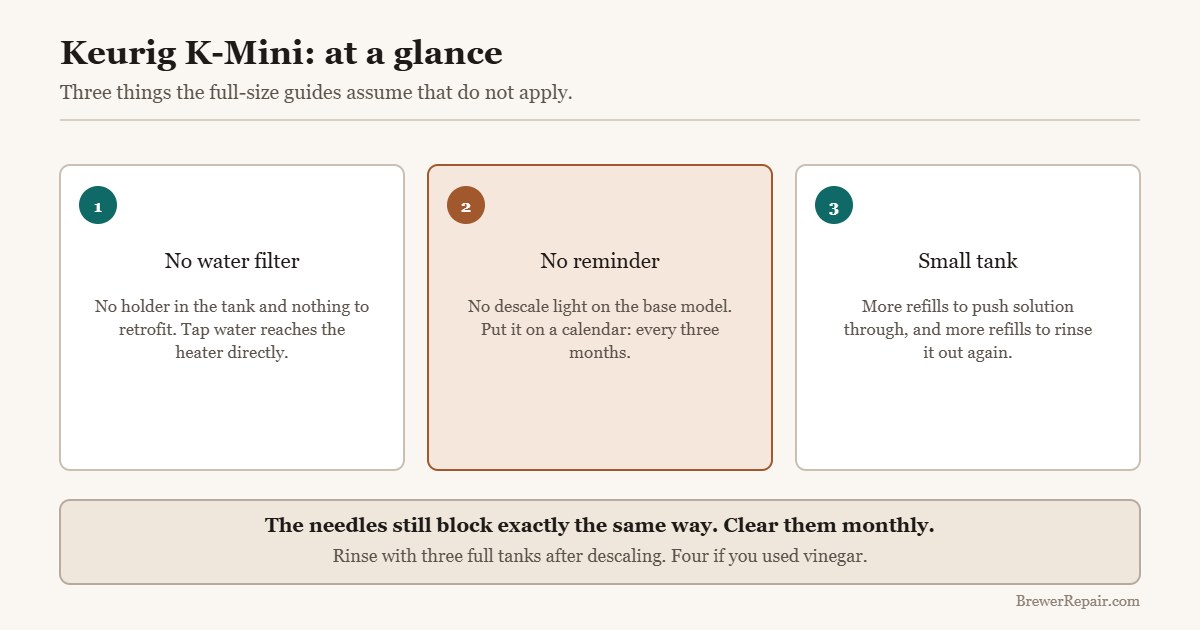
Most Keurig cleaning advice assumes a removable reservoir with a filter holder in it. The K-Mini and K-Mini Plus have neither. You fill the tank per brew, the water goes straight through, and there is nowhere to fit a charcoal cartridge. That simplifies some things and makes others matter more.
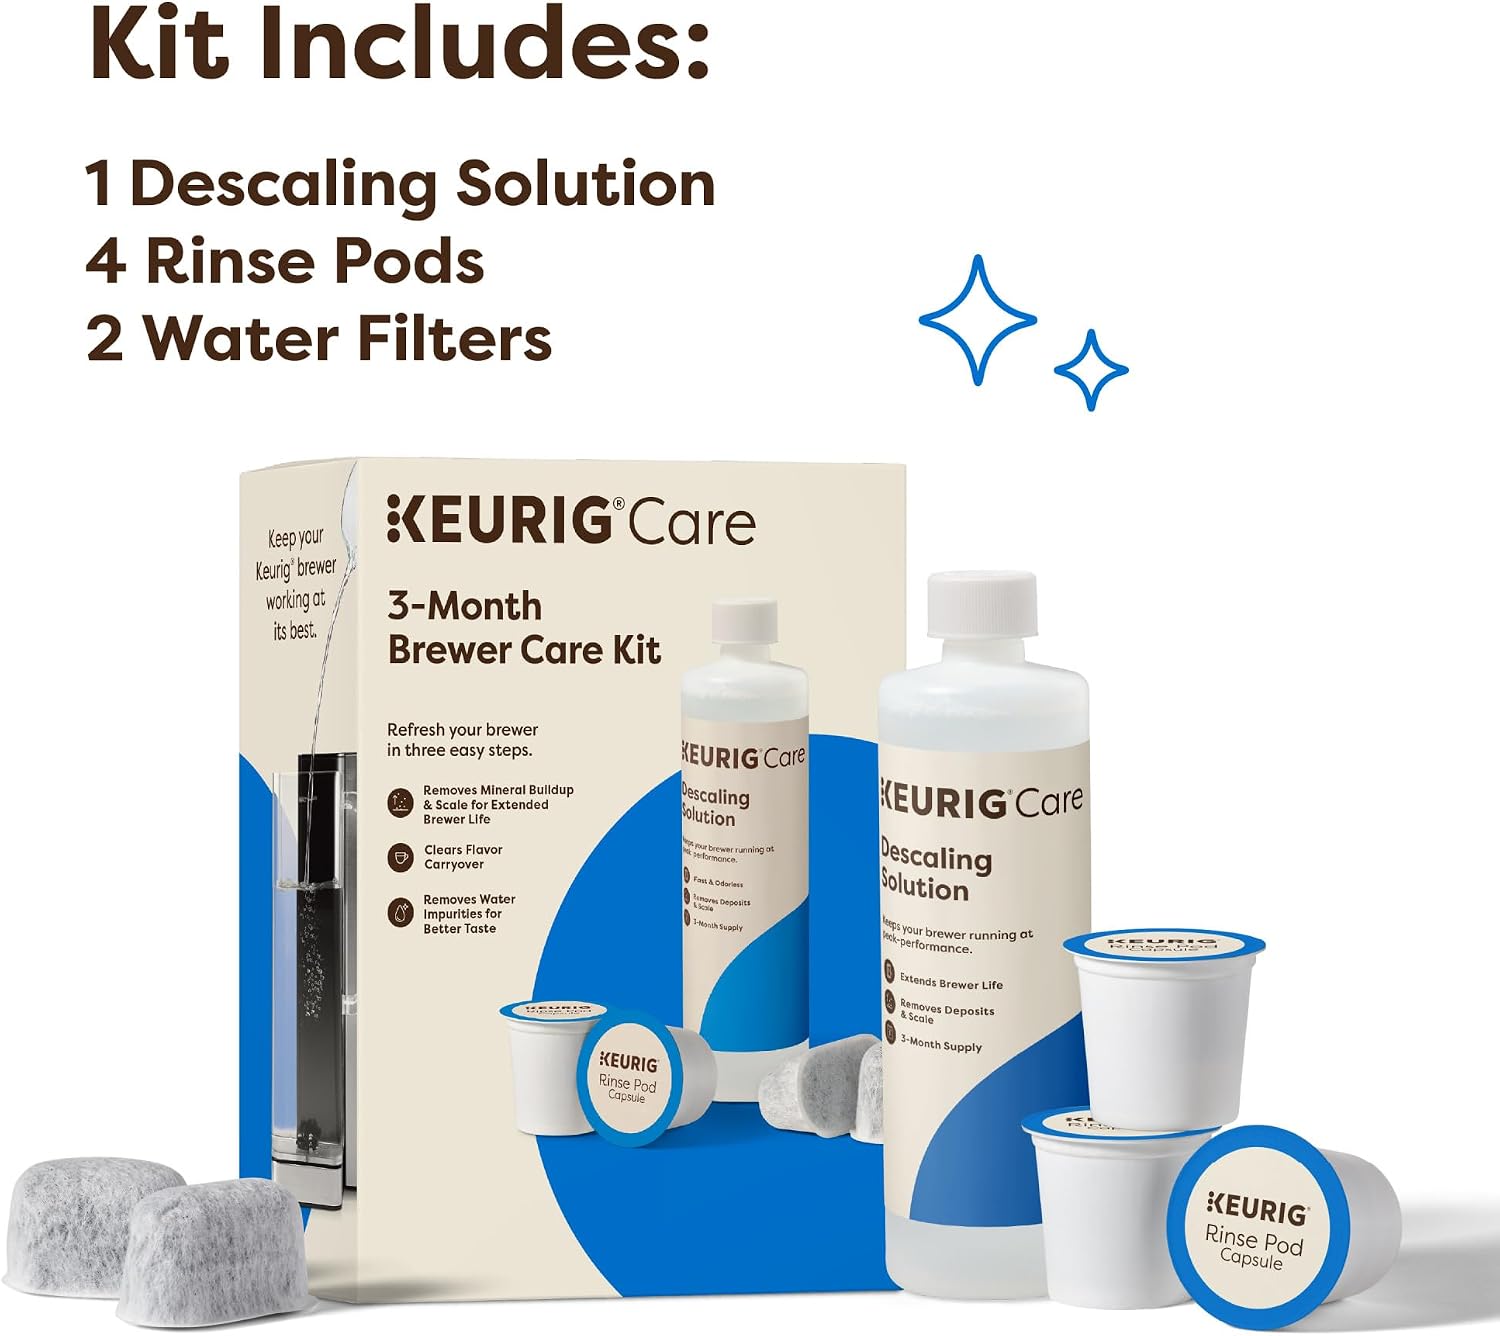
What a K-Mini needs:
Prime Keurig 3-Month Brewer Maintenance Kit Includes Descaling Solution, Water Filter Cartridges & Rinse Pods, Compatible Classic/1.0 & 2.0 K-Cup Coffee Makers, 7 Count










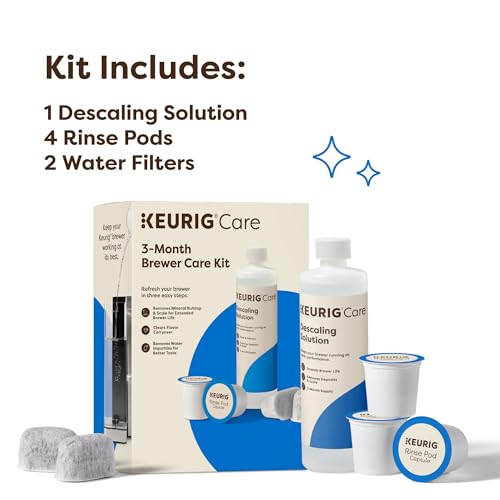


As an Amazon Associate we earn from qualifying purchases. Product prices and availability are accurate as of the date/time indicated.
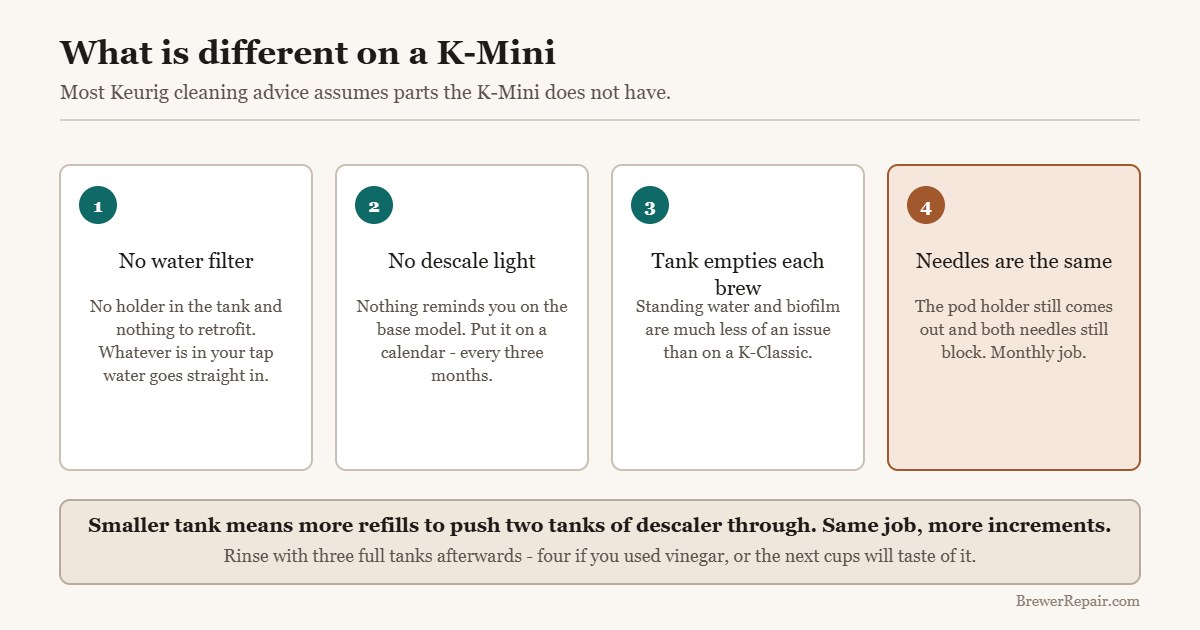
What is different on a K-Mini
- No water filter. Whatever is in your tap water goes into the machine. On hard water that means descaling matters more, not less.
- No descale light on the base model. Nothing will remind you, so put it on a calendar.
- The tank empties every brew, so standing water and biofilm are much less of an issue than on a K-Classic.
- The pod holder still comes out, and the needles still block exactly the same way.
Weekly: the parts you can reach
Unplug the machine. Lift out the drip tray and wash it. Take out the pod holder, push the funnel out of it, and wash both in warm soapy water. Wipe the outside and the area around the head where drips land. Nothing here needs chemicals.
Monthly: the needles
This is the maintenance job that keeps a K-Mini brewing full cups. With the pod holder out, clear the exit needle from underneath with a needle tool or a straightened paperclip. Then look up into the head for the entrance needle and clear that too – straight in, straight out, no fishing around.
Every three months: descale
- Fill the tank to the max line with descaling solution and water at the ratio on the bottle, or a 1:1 mix of white vinegar and water.
- Place a large mug on the drip tray and run a brew cycle with no pod.
- Refill and repeat until you have run the equivalent of two full tanks through.
- Leave the machine off for thirty minutes. This stand is what actually dissolves scale – running cycles back to back does far less.
- Rinse with at least three full tanks of clean water. With vinegar, make it four, or the next few cups will taste of it.
Because the K-Mini tank is small, this takes more refills than on a full-size brewer. It is the same job, just in smaller increments.
What to buy
- Keurig 3-month brewer maintenance kit – descaling solution and rinse pods in one box.
- IMPRESA universal coffee machine descaler – cheaper per descale if you have more than one brewer.
- Needle cleaning tool – the monthly job that keeps cups full.
White vinegar works too and costs almost nothing. It just needs an extra rinse tank.
If cleaning does not fix it
Short cups after a clean and descale point back at the needles. A machine that hums and delivers nothing has an airlock or a seating problem – work through the diagnosis in order rather than descaling again.
What “no reservoir” actually changes
On a K-Classic the tank holds enough for several brews and sits there between them. On a K-Mini you pour in one cup’s worth and the machine uses all of it. Three consequences follow, and they run in both directions:
- Better: no standing water, so no biofilm on an intake screen and no stale-water taste from a tank that has sat since Sunday.
- Worse: no filter holder, so every mineral and every trace of chlorine in your tap water goes into the machine.
- Worse: nothing to remind you. On a machine with a filter, replacing the cartridge is a prompt to think about descaling. The K-Mini has no such prompt.
The monthly job that matters more than descaling
On any pod brewer, coffee grounds block the needles long before minerals block the lines. The K-Mini is no exception, and because its brew volume is small to begin with, a partially blocked needle is noticeable much sooner.
Unplug the machine, lift out the pod holder, push the funnel out of it, and clear the exit needle from underneath. Then look up into the head and clear the entrance needle. Straight in, straight out — do not fish around, and do not do it with the machine plugged in.
Descaling a small tank without losing patience
The procedure is the same as any Keurig; the tank size just changes the rhythm. Plan for it:
- Mix enough solution for two tank-fulls in a jug, so you are not measuring twice.
- Run brews with no pod into a large mug, refilling from the jug until it is gone.
- Leave the machine off for thirty minutes. Do not skip this to save time — it is the step that does the work.
- Rinse with three full tanks of plain water, four if you used vinegar.
Total time is about forty-five minutes, of which forty are waiting.
Water quality, since you cannot filter it
On a K-Mini the water you pour in is the water the heater sees. If your supply is hard, using filtered water from a jug filter is the single most effective thing you can do for the machine — it slows scaling directly, which is otherwise unavoidable on this model. It also improves the cup for the same reason a built-in filter would.
Bottled water is not better than a jug filter for this purpose, and distilled water is actively worse: it is aggressive towards the metals in a heating circuit and it makes flat-tasting coffee.
What a K-Mini needs
Descaler for the three-monthly job, and a needle tool for the monthly one.
Keurig 3-Month Brewer Maintenance Kit Includes Descaling Solution, Water Filter Cartridges & Rinse Pods, Compatible Classic/1.0 & 2.0 K-Cup Coffee Makers, 7 Count


Common questions
Does a Keurig K-Mini take a water filter?
No. There is no filter holder in a K-Mini and nothing to retrofit.
How often should I descale a K-Mini?
Every three months, and more often on hard water. Nothing on the base model will remind you.
Can I use vinegar in a K-Mini?
Yes, at 1:1 with water, but rinse with four full tanks afterwards or the next cups will taste of it.
Why is my K-Mini brewing short cups after cleaning?
The needles are still partly blocked. Clear both and run a no-pod brew to check.
What happens if you skip it
These are the failures that scale causes, in the order we see them.
Keurig Coffee Tastes Burnt or Bitter: What Causes It
Burnt and bitter are different complaints with different causes, and the plastic in a Keurig holds onto old coffee oil in a way people underestimate.
Clogged Keurig: Needle, Water Line or Scale
Three different blockages produce the same symptom. Which one you have decides whether the fix is two minutes with a paper clip or a full descale.
Keurig Leaking Water From the Bottom: Find the Source First
Water under a Keurig comes from four places and only one of them needs a part. The paper towel test tells you which before you spend anything.