Keurig Not Pumping Water: Work Through It in This Order

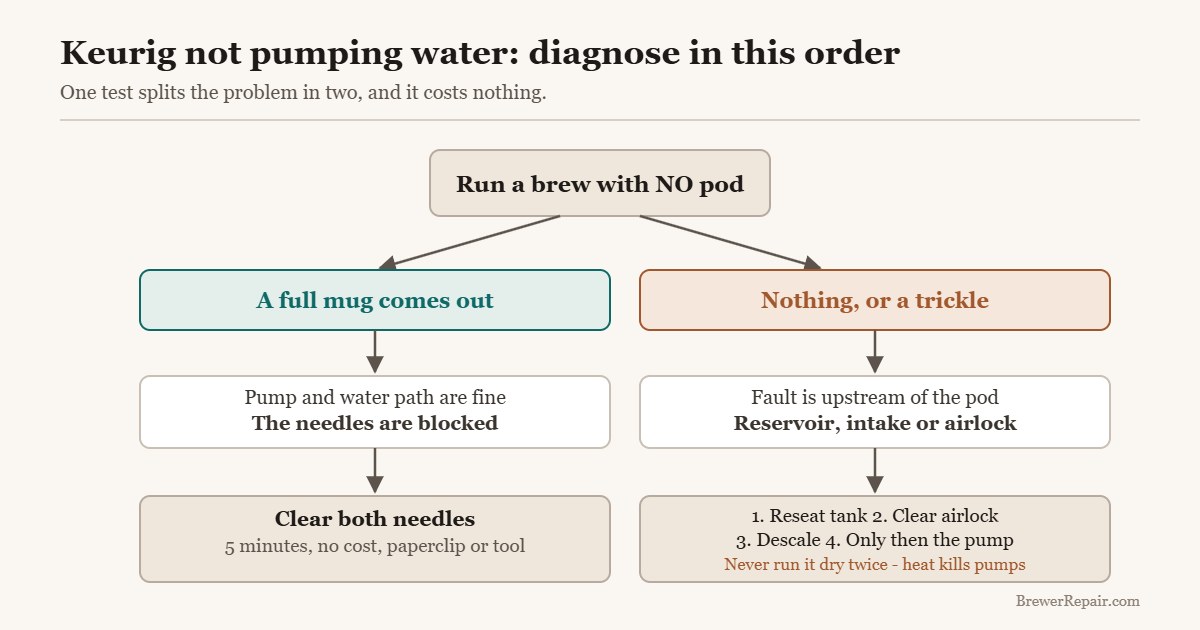
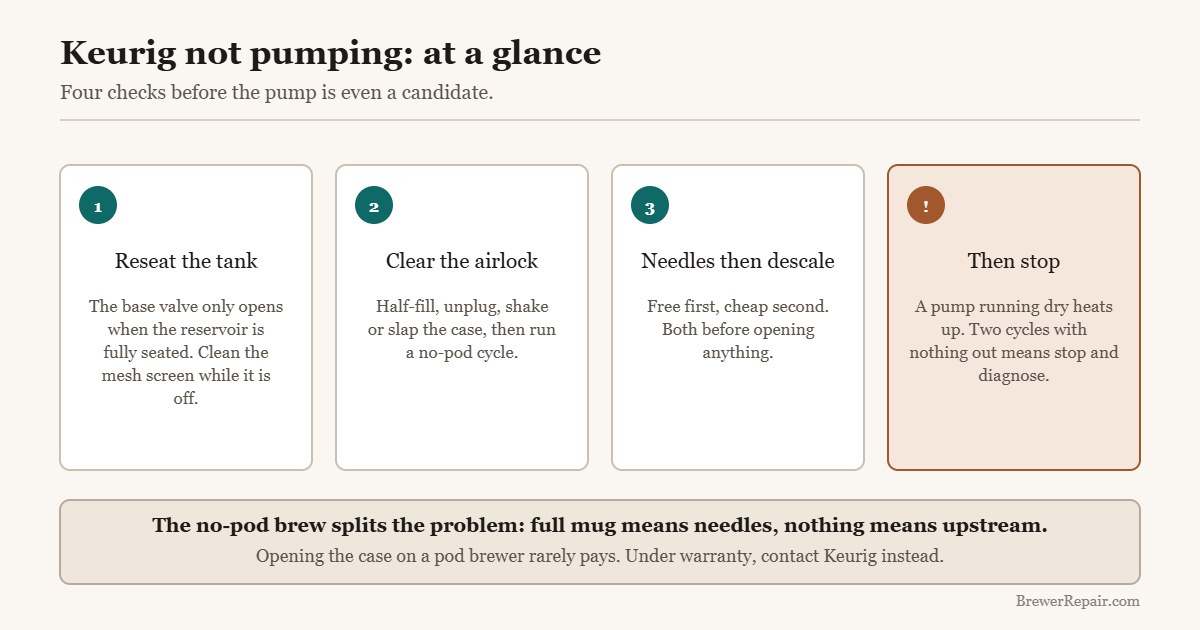
Run a cleansing brew with no pod. If a full mug comes out, the needles are blocked. If nothing comes out, reseat the reservoir and clear the airlock before you suspect the pump.
Causes, most likely first
Work down this list in order. The first two cost nothing to check.
- Reservoir not fully seated, so the base valve never opens
- Airlock in the intake line after a refill or after running dry
- Entrance or exit needle packed with coffee grounds
- Scale narrowing the internal water lines
- Debris or slime on the intake screen in the tank
- Failed pump - the least likely cause, and the last to check
The fix, step by step
-
Split the problem
Run a no-pod cleansing brew. Full mug means the needles are blocked; nothing means the fault is upstream.
-
Reseat the reservoir
Lift it off and refit it firmly, and clean the mesh screen in the tank base.
-
Clear the airlock
Half-fill the tank, unplug, shake or slap the case, then run a no-pod cycle.
-
Clear both needles
Unplug, lift out the pod holder, clear the exit needle and the two entrance needles.
-
Descale
A full descale and rinse if the machine has been slowing down over months.
-
Then suspect the pump
Only after all of the above. Opening the case is rarely worth it on a pod brewer.
A Keurig that lights up, runs its cycle, makes pump noise and delivers nothing — or a dribble — is one of the most common failures on these machines. It is also one of the most over-diagnosed. The pump is rarely the part that has failed. Work through the checks below in order; each one is cheaper and faster than the one after it.
What actually fixes it:

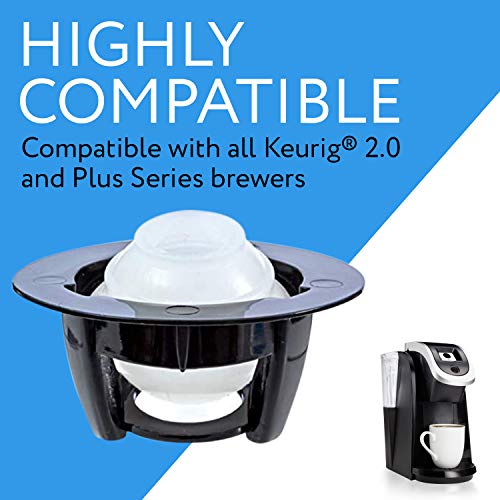
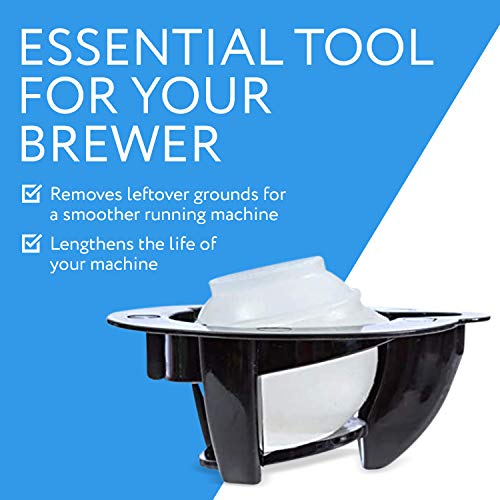
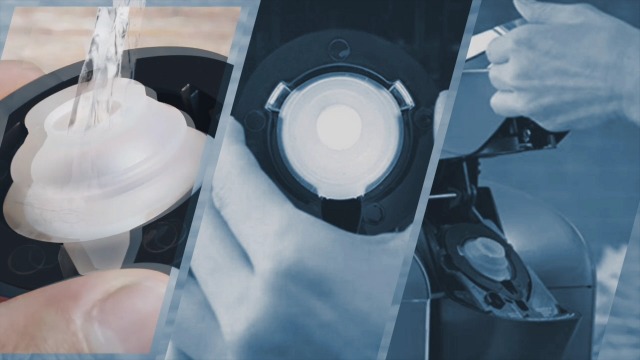
Prime IMPRESA Brewer Needle Cleaning Tool - Easy Maintenance & Needle Cleaner - Universal Declog Accessory & Compatible with Keurig 2.0 - Smooth Brewing & Ninja Unclog Accessory - 1 Count, Silicone



As an Amazon Associate we earn from qualifying purchases. Product prices and availability are accurate as of the date/time indicated.
First, split the problem in two
Run a cleansing brew with no pod in the machine, largest cup size, into a mug.
- A full mug comes out. The pump and water path are fine. Your blockage is at the needles — skip to step 3.
- Nothing or a trickle comes out. The problem is upstream, in the reservoir, the intake or the pump. Continue with step 1.
This single test saves most people from buying a part they did not need.
1. Reseat the reservoir
Lift the reservoir off and put it back, firmly. The tank feeds through a valve in its base that only opens when it is fully seated, and a tank sitting a few millimetres proud draws air instead of water. Check the mesh screen in the bottom of the tank while it is off — a film of scale or slime across that screen starves the pump. A fresh charcoal water filter keeps that screen cleaner for longer.
2. Clear the airlock
An airlock in the intake line is the classic cause of a machine that hums and pumps nothing, and it usually appears right after a refill or after the tank ran dry.
- Fill the reservoir at least halfway.
- Turn the brewer off and unplug it.
- Lift the machine and give it a firm shake, or slap the side of the case a few times with an open palm, to shift the trapped bubble.
- Plug in, power up, and run a no-pod cycle.
It sounds crude and it works often enough that it is worth doing before anything else.
3. Clear both needles
If the no-pod test filled a mug, this is your fault. Coffee grounds pack into the entrance needle in the lid and the exit needle in the pod holder, and the result is exactly this symptom. Unplug the machine, lift out the pod holder, and clear both needles with a cleaning tool or a straightened paperclip — straight in, straight out.
4. Descale
Scale narrows the internal lines gradually, so this failure builds slowly rather than appearing overnight. If your machine has been getting slower for months and the descale light has been on for a while, run a full descale and rinse before condemning any hardware.
5. Only now suspect the pump
If the tank is seated, the screen is clean, the airlock is cleared, the needles are open and the machine has been descaled, and it still will not draw water, then the pump or the intake tubing is the remaining candidate. This is the point at which the economics turn: pump replacement on a Keurig means opening the case, and a working pod brewer costs less than most people’s time is worth for that job. Machines under warranty should go back to Keurig instead.
What not to do
Do not run the brewer repeatedly hoping it will prime itself. A pump running dry gets hotter each cycle, and heat is what actually kills them. If two cycles produce nothing, stop and diagnose.
Why the no-pod test works
A pod brewer has two failure zones and they need opposite responses. Everything upstream of the pod — tank, valve, intake screen, pump, lines — carries water. Everything at the pod — the two entrance needles and the exit needle — carries water and coffee grounds.
Running a cycle with no pod takes the grounds out of the equation. If water comes through normally, every upstream component is working and you have proved it in thirty seconds. If it does not, the pod was never the problem and you can stop taking the holder apart.
Airlocks, and why shaking a machine is not folklore
Small vibration pumps in these brewers cannot push an air bubble the way they push water. Once a bubble sits in the intake line, the pump cycles against compressible air and moves nothing — which is exactly what “runs but delivers nothing” sounds like.
Air gets in two ways: the tank ran dry mid-brew, or the tank was removed and refitted with the machine warm. Both are common. Shaking or slapping the case shifts the bubble to a point where water can displace it, and the pump then primes normally. It looks unscientific and it is the standard fix.
The intake screen nobody checks
Lift the tank off and look at the small mesh screen in the base of the machine, or in the tank floor depending on model. On a brewer that has been in service a year or two this is often coated with a film — mineral scale, or a soft biofilm if the tank has been left standing with water in it.
That film starves the pump without blocking it completely, which produces slow, inconsistent brewing rather than an outright failure. Wash it with warm soapy water and a soft brush. It is a two-minute job that is missing from most troubleshooting guides.
Why running it repeatedly makes things worse
The pump in a pod brewer is cooled by the water passing through it. Cycling a machine that is not drawing water runs the pump dry, and each attempt puts more heat into it. A pump that would have primed after an airlock fix can be killed by twenty hopeful button presses.
Two cycles with nothing out is the point to stop and diagnose.
When it is genuinely the pump, and what that means
If the tank is seated, the screen is clean, the airlock trick has been tried, the needles are clear and a full descale has been run, then the pump or the intake tubing is what remains. On most pod brewers that means opening a sealed case to reach a soldered, mains-connected part.
The honest arithmetic: a replacement brewer in the same class costs less than an hour of most people’s time, and considerably less than a paid repair. If the machine is under warranty, contact the manufacturer rather than opening it — opening it ends the warranty.
If none of this restores it, the next question is whether the machine is worth keeping: is a Keurig worth repairing.
What actually fixes it
A needle tool for the blockage, descaler for the slow build-up. Neither costs much, and between them they solve most cases.

Keurig 3-Month Brewer Maintenance Kit Includes Descaling Solution, Water Filter Cartridges & Rinse Pods, Compatible Classic/1.0 & 2.0 K-Cup Coffee Makers, 7 Count
If you need the part
Check the fitment chart against your model number before ordering — sizes that look identical often are not.
The part you need
Keurig Needle Cleaning Tool: What It Does and When
Paid link. We earn a commission if you buy — the guides stay free.
Questions people ask about this fix
Why does my Keurig make pump noise but no water comes out?
Most often an airlock in the intake line or a reservoir that is not fully seated. Both are free to fix and take a couple of minutes.
How do I know if it is the needles or the pump?
Run a cleansing brew with no pod. If that fills a mug, the pump is fine and the needles are blocked.
Is it worth replacing the pump in a Keurig?
Rarely. It means opening the case, and a replacement brewer often costs less than the time involved. If the machine is under warranty, contact Keurig instead.
Can running it repeatedly damage the machine?
Yes. A pump cycling dry heats up, and heat is what kills them. If two cycles produce nothing, stop and diagnose.
Other Keurig problems
Keurig Coffee Tastes Burnt or Bitter: What Causes It
Burnt and bitter are different complaints with different causes, and the plastic in a Keurig holds onto old coffee oil in a way people underestimate.
Clogged Keurig: Needle, Water Line or Scale
Three different blockages produce the same symptom. Which one you have decides whether the fix is two minutes with a paper clip or a full descale.
Keurig Leaking Water From the Bottom: Find the Source First
Water under a Keurig comes from four places and only one of them needs a part. The paper towel test tells you which before you spend anything.