Keurig Needle Cleaning Tool: What It Does and When

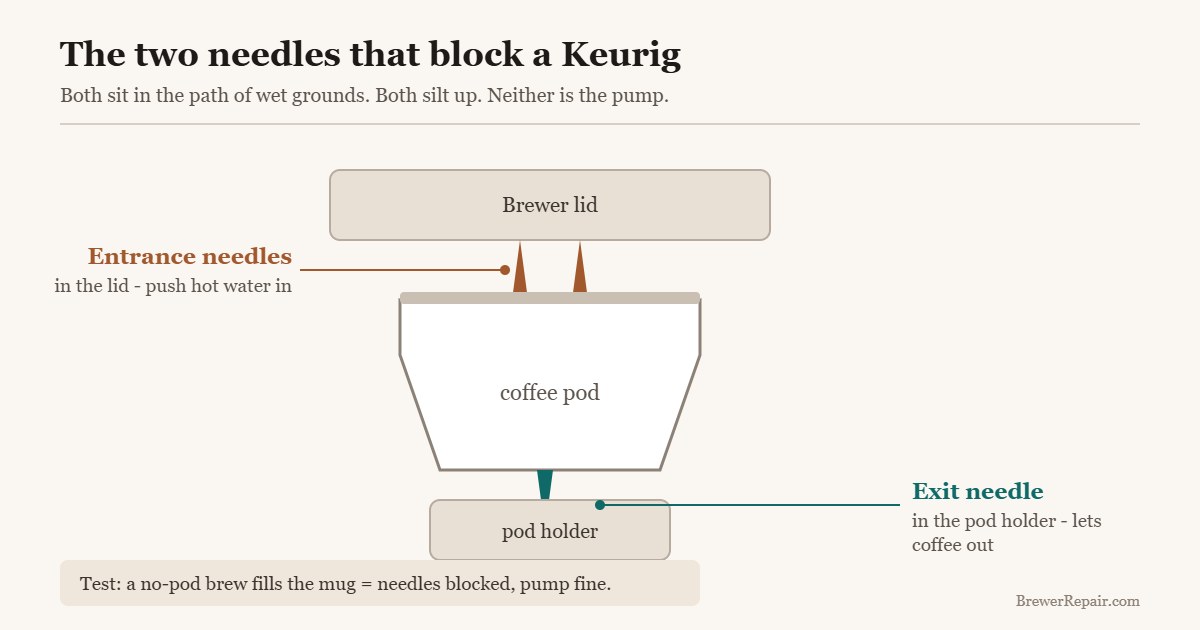
If a cleansing brew with no pod fills a mug but a pod brew does not, the needles are blocked, not the pump. Clear both the entrance needle in the lid and the exit needle in the pod holder.
Also sold as: Third-party needle tools; pod holder assembly sold separately
Does it fit your machine?
Match your model number exactly — the code on the rating label, not the name on the front of the machine.
| Model | Notes |
|---|---|
| K-Classic (K55) | Removable pod holder |
| K-Elite | Removable pod holder |
| K-Duo / K-Duo Plus | Removable pod holder |
| K-Mini / K-Mini Plus | Needles present, holder is not removable the same way |
| K-Supreme | Not yet verified on a machine in hand |
Your model is not on this list. Do not assume it fits — send us the model number and we will check it.
OEM or aftermarket?
Every Keurig punches two holes in a pod: an entrance needle in the lid pushes water in, an exit needle in the pod holder lets coffee out. Both sit directly in the path of wet grounds, and both silt up. A clogged needle is the single most common cause of short cups, slow brewing and grounds in the coffee — and it is almost always mistaken for a failing pump.
The tool for the monthly job:

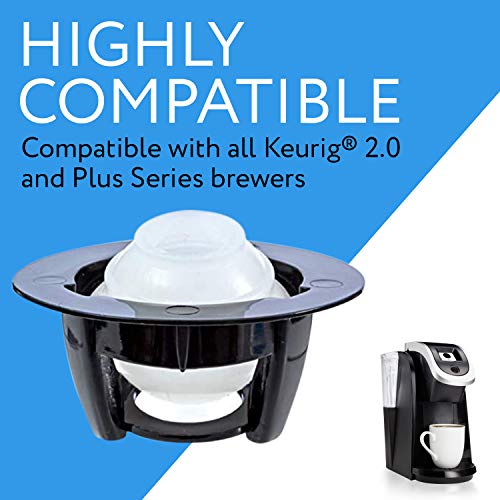
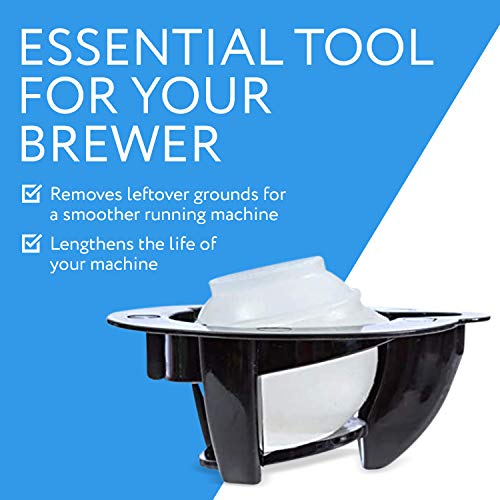
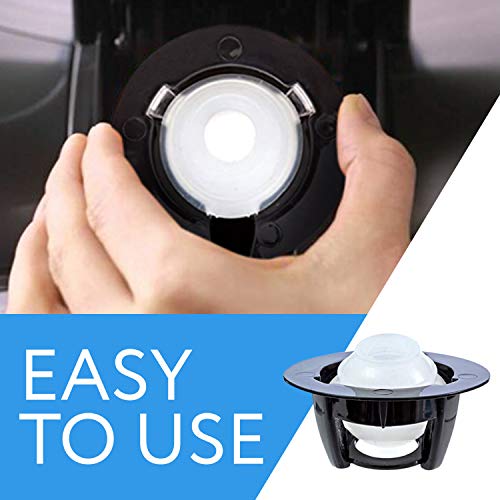
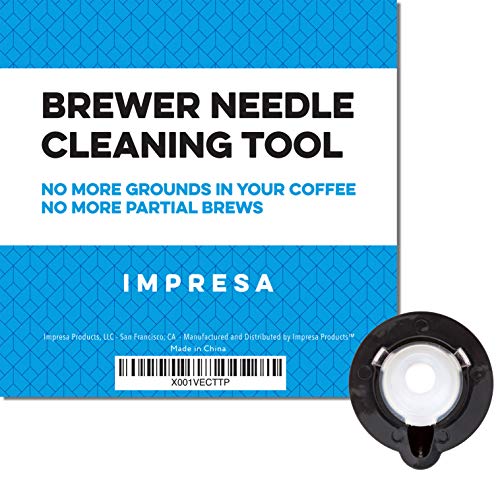
Prime IMPRESA Brewer Needle Cleaning Tool - Easy Maintenance & Needle Cleaner - Universal Declog Accessory & Compatible with Keurig 2.0 - Smooth Brewing & Ninja Unclog Accessory - 1 Count, Silicone


As an Amazon Associate we earn from qualifying purchases. Product prices and availability are accurate as of the date/time indicated.
Symptoms that point at the needles
- Cups come out half full, or take far longer than they used to.
- Grounds appear in the finished coffee.
- The brewer runs a full cycle, sounds normal, and delivers a trickle.
- Water flows fine on a cleansing brew with no pod, but not with one.
That last one is the useful test. If a no-pod cycle delivers a full mug and a pod cycle does not, the water path is clear and the blockage is at the needles.
The tool versus a paperclip
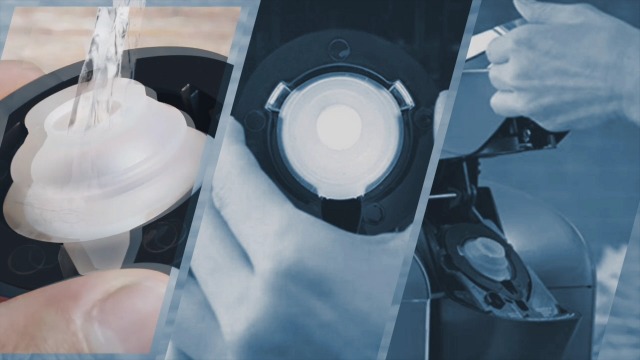
Keurig’s own tool is a two-piece plastic gadget that sits in the pod holder and pushes a stiff nib up through the entrance needle while you close the lid. Third-party versions do the same job. What you are paying for is a controlled depth and a blunt tip that will not enlarge the hole.
A straightened paperclip does clear the same blockage, and plenty of people use one. The risk is that a metal point burrs the needle bore or scratches the seat, and a scratched entrance needle drips. If you use a paperclip, go straight in and straight out, gently, and do not fish around.
The pod holder assembly itself is also sold as a part. That is the one to buy if the exit needle is bent or the holder is cracked, rather than just blocked.
How to clear both needles
- Unplug the brewer. The lid mechanism is spring-loaded and the needles are sharp at both ends.
- Take out the pod holder. Push up from underneath the holder and it lifts out. The exit needle is in the bottom of the funnel.
- Clear the exit needle. Rinse the holder, then work the tool or a straightened paperclip through the hole from the underside. Grounds come out as a dark paste.
- Clear the entrance needle. Look up into the lid: two sharp points either side of the pod seat. Clear each one the same way, straight in and out.
- Rinse and run water through. Refit the holder and run two cleansing brews with no pod to flush what you loosened.
How often
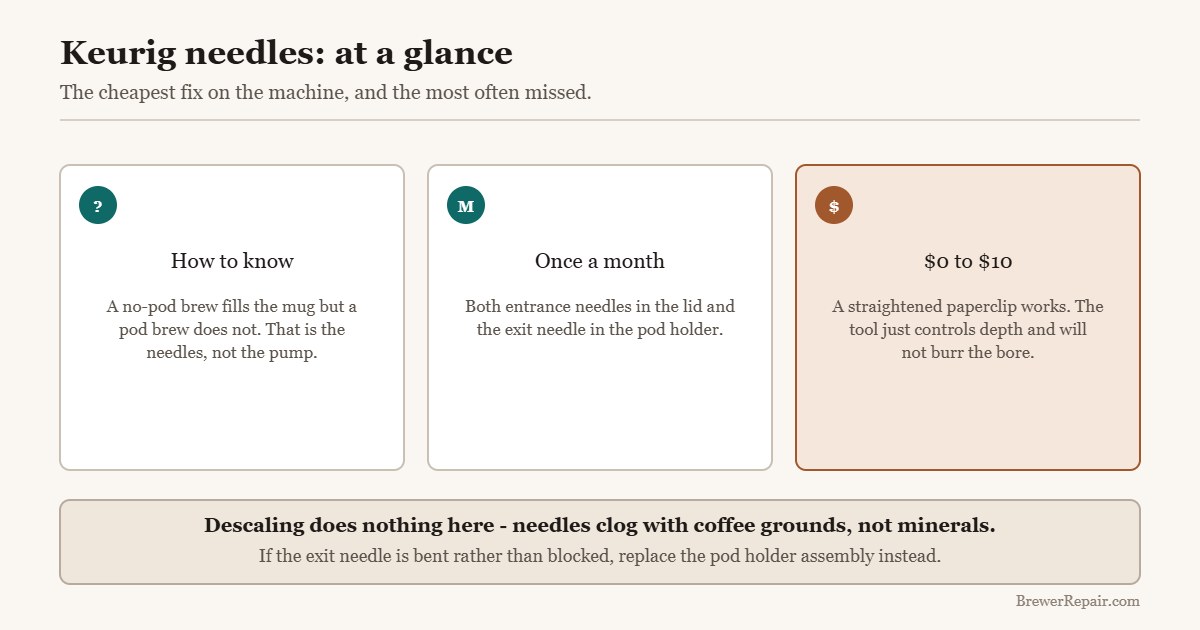
Once a month is enough for a household machine, and it is worth doing before you reach for a descaler — a needle clean takes five minutes and fixes more slow-brewing complaints than descaling does. Descaling clears mineral scale from the heater and lines; it does nothing to a needle packed with coffee grounds. The two jobs are separate and both are needed.
Why grounds reach the needles at all
A pod is not a sealed unit once the machine has finished with it. The entrance needles puncture the lid and force water in under pressure; the exit needle punctures the base and coffee leaves through it. Both punctures carry wet grounds, and every brew leaves a little behind on the metal.
Wet coffee dries into a hard, slightly oily crust rather than a loose powder. That is why rinsing the holder is not enough on its own and why the blockage builds gradually over months instead of appearing overnight.
Paperclip versus tool, honestly compared
The tool has a blunt nib and a fixed depth. The paperclip has neither. In practice both clear the same blockage, and the difference only shows up over years of use:
- Depth. Pushing too far can score the seat that the pod lid presses against, which produces a slow drip from the head after brewing.
- Burring. A metal point twisted inside a needle bore can raise a burr, and a burred needle tears pod lids instead of piercing them cleanly — which puts more grounds into the cup, not fewer.
If you use a paperclip: straighten it fully, go in and out along the axis of the needle, and do not rotate or lever it. That covers most of the risk.
Cleaning the holder properly
- Unplug the machine. The lid mechanism is spring-loaded and the needles are sharp at both ends.
- Push the pod holder up from underneath and lift it out.
- Separate the funnel from the holder — it pulls off — and wash both in warm soapy water.
- Clear the exit needle from the underside of the funnel. Grounds come out as a dark paste.
- Look up into the lid. There are two entrance needles either side of the pod seat. Clear each one.
- Refit and run two cleansing brews with no pod to flush what you loosened.
When the needle is damaged rather than blocked
A bent exit needle tears every pod and puts grounds in the cup regardless of how clean it is. A cracked funnel leaks coffee into the machine’s base. Both mean the holder assembly, not the tool — it is sold as a part for most models and costs roughly what a cleaning tool does.
Monthly, and why before descaling
Needle cleaning takes five minutes, costs nothing, and fixes more slow-brewing complaints than descaling does. Descaler dissolves minerals; it has no effect on packed coffee grounds. When a pod machine slows down, clear the needles first and only reach for the descaler if that did not change anything.
Related on BrewerRepair: Keurig Water Reservoir Replacement and Keurig Water Filters.
Tools that clear the needles
Either does the job. Buy the pod holder assembly instead if the exit needle is bent rather than blocked.

Where to buy it
Keurig
Keurig Needle Cleaning Tool: What It Does and When
Paid link. Price shown is indicative — check the listing for the current price. We earn a commission at no extra cost to you.
Questions about this part
Can I just use a paperclip?
Yes, and it works. Go straight in and straight out - fishing around with a metal point can burr the needle bore, and a damaged entrance needle drips.
How often should I clean the needles?
About once a month on a household machine, and any time cups start coming out short.
Does descaling clear the needles too?
No. Descaler dissolves mineral scale in the heater and lines. Needles clog with coffee grounds, which descaler does not touch.
My exit needle is bent, not blocked - what then?
Replace the pod holder assembly. It is sold as a part and costs about the same as the cleaning tool.
Repairs that need this part
Clogged Keurig: Needle, Water Line or Scale
Three different blockages produce the same symptom. Which one you have decides whether the fix is two minutes with a paper clip or a full descale.
Keurig Not Brewing a Full Cup: Why Volume Drops
Short cups on a Keurig are almost always a partial blockage rather than a failing pump. The order to check things in, from free to expensive.
Keurig Not Pumping Water: Work Through It in This Order
A Keurig that hums but delivers nothing is usually an airlock, a blocked needle or a seated reservoir - not a dead pump. Diagnose it in the order that costs least.